

Plugin walkthrough and dashboard
Learn how to navigate the WhatSnap interface, manage sub-accounts, and verify your plugin installation.
Overview
The WhatSnap dashboard is your command center. From here, you can monitor the health of your entire messaging network and connect new clients in seconds.
Navigating the Agency View
The Agency View provides a bird's-eye view of all your connected sub-accounts and their respective line statuses.
Access the Agency View
In the GoHighLevel sidenav, click on P2P Messenger. This is your command center where you can manage your entire GHL agency. From here, you can:
- Install the plugin in new sub-accounts.
- Manage status to see if the plugin is active or inactive for each client.
- Purchase add-ons, including extra sub-account seats and additional lines.
- Change your plan to upgrade or downgrade as your agency scales.
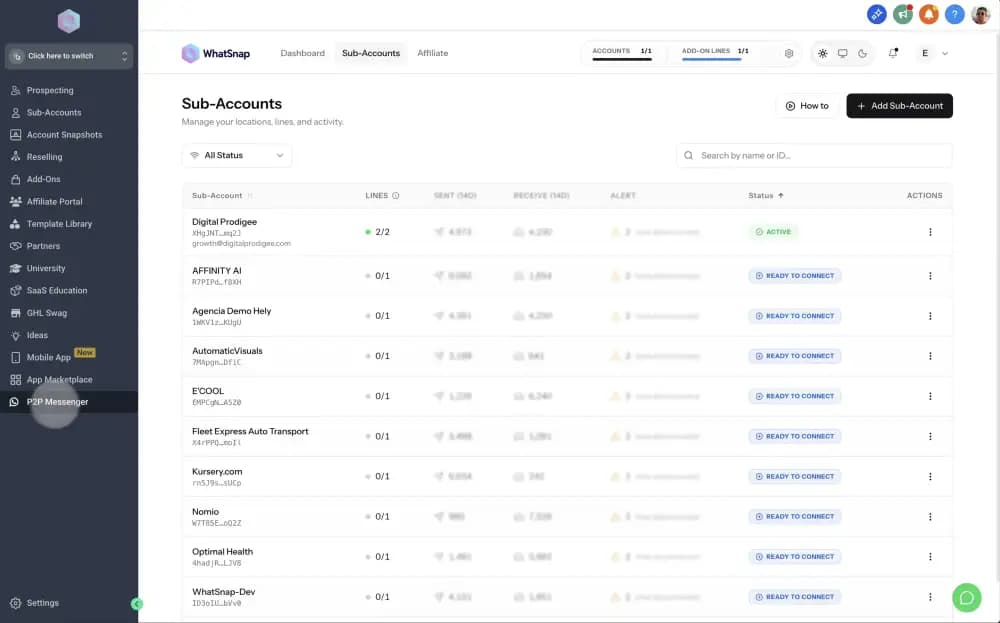
Every sub-account seat includes one free line by default. You only need to purchase add-on lines if you want a specific sub-account to have multiple active numbers.
Monitor account and line status
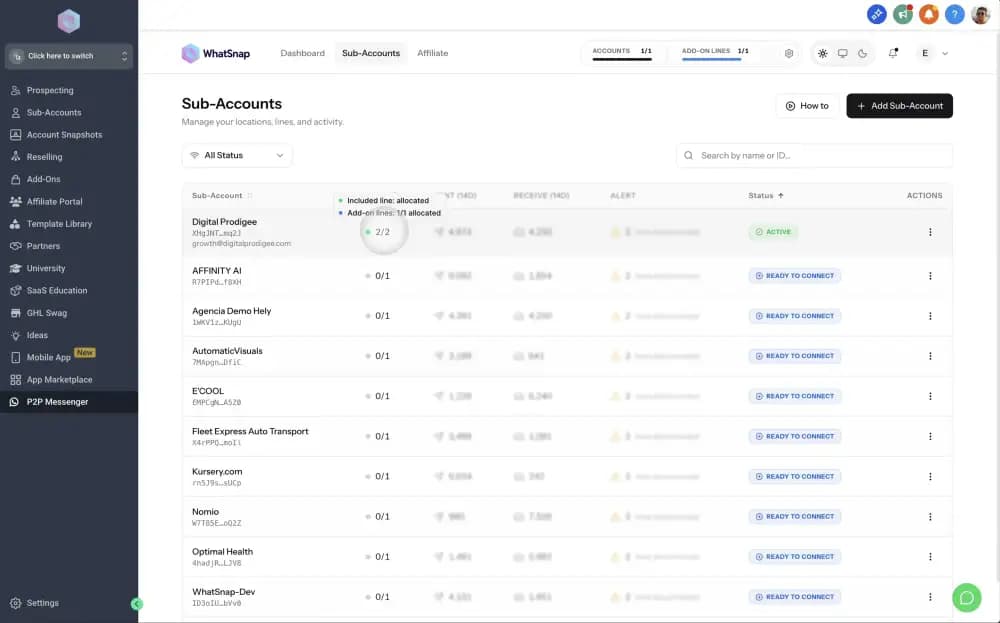
In the Agency View list, you can identify the license status for each sub-account:
- Active: A WhatSnap license is actively allocated to this sub-account.
- Ready To Connect: The plugin is installed in the GHL sub-account, but a license has not been allocated yet.
The Lines column shows how many lines are assigned to each account. Hover over the numbers in the Lines column to see activity details and how many are connected vs. available.
Manage and verify account limits
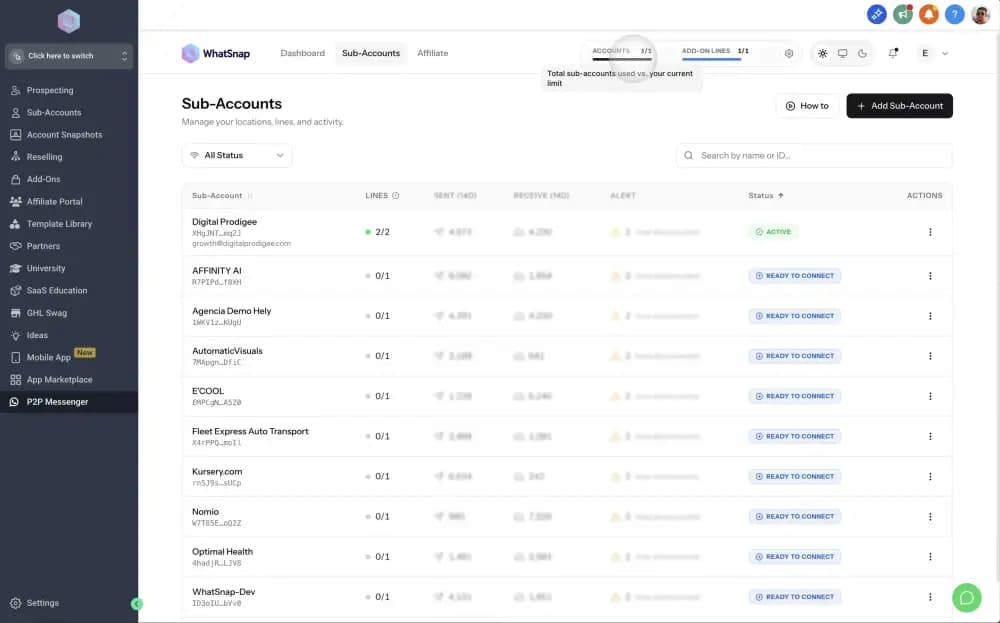
The counters at the top of your dashboard show your total used vs. available sub-account slots and add-on lines included in your plan.
By clicking directly on these counters, you can access the resource portal to purchase extra sub-account activations or add-on lines as your agency scales.
Connecting extra sub-accounts
Follow these steps to add new GHL sub-accounts to your WhatSnap agency and activate their licenses.
Add a sub-account
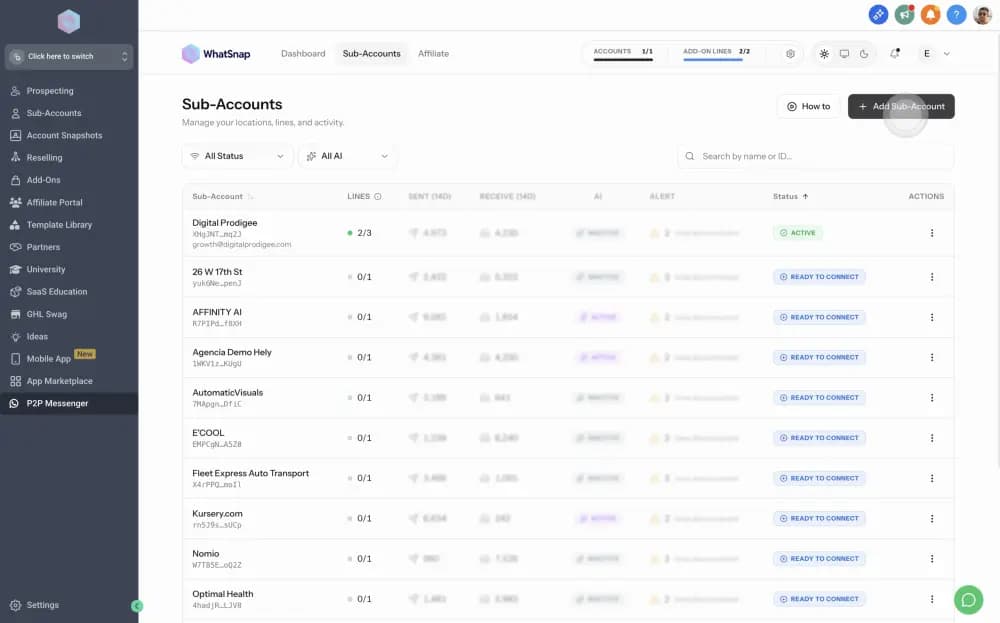
If your sub-account does not appear in the dashboard list, click the Add Sub Account button in the top right corner to begin the integration.
Select your GHL sub-account
Choose the GoHighLevel sub-account you want to link from the list.
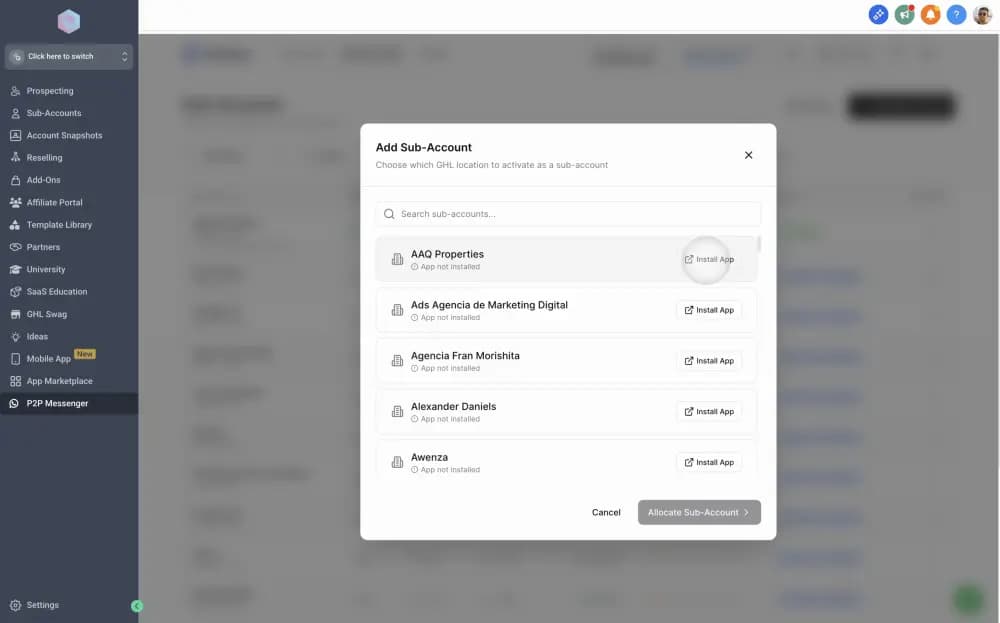
Install the plugin
Click Install Plugin and then select Next to proceed with the integration.
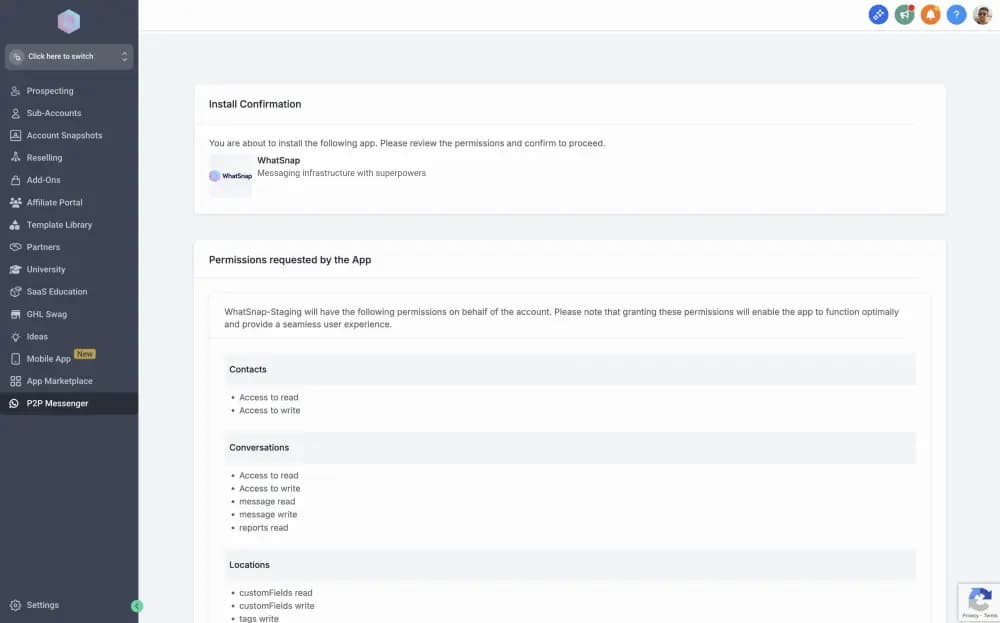
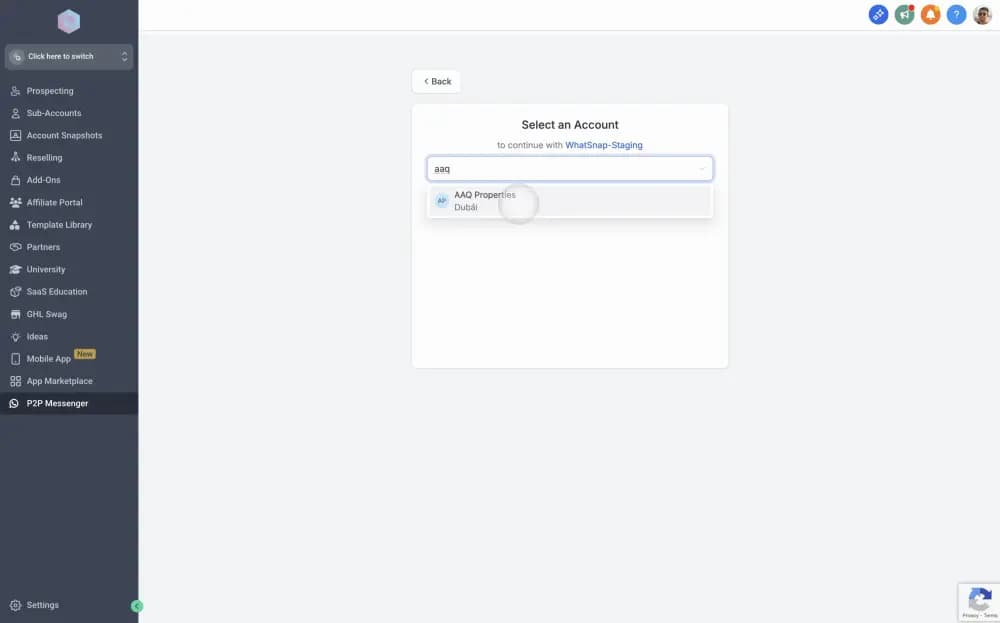
Confirm account selection
In the GHL installation window, confirm the sub-account where you want to install the WhatSnap application.
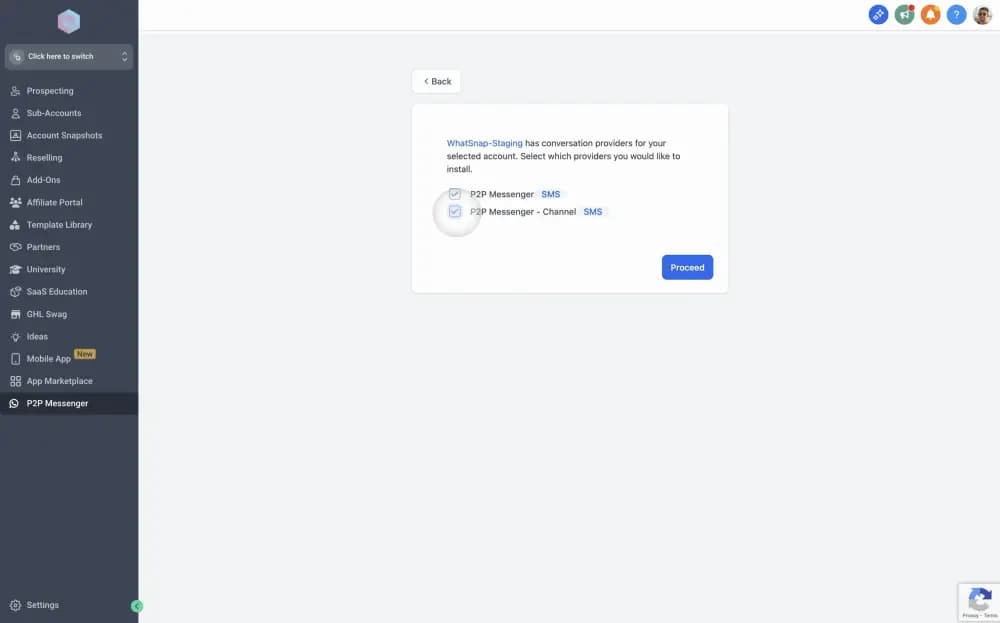
Enable messaging channels
Ensure both P2P Messenger and P2P Messenger Channel are selected, then click Proceed to authorize the installation.
Important: Selecting both checkboxes is critical for the messaging channels to integrate correctly with GoHighLevel.
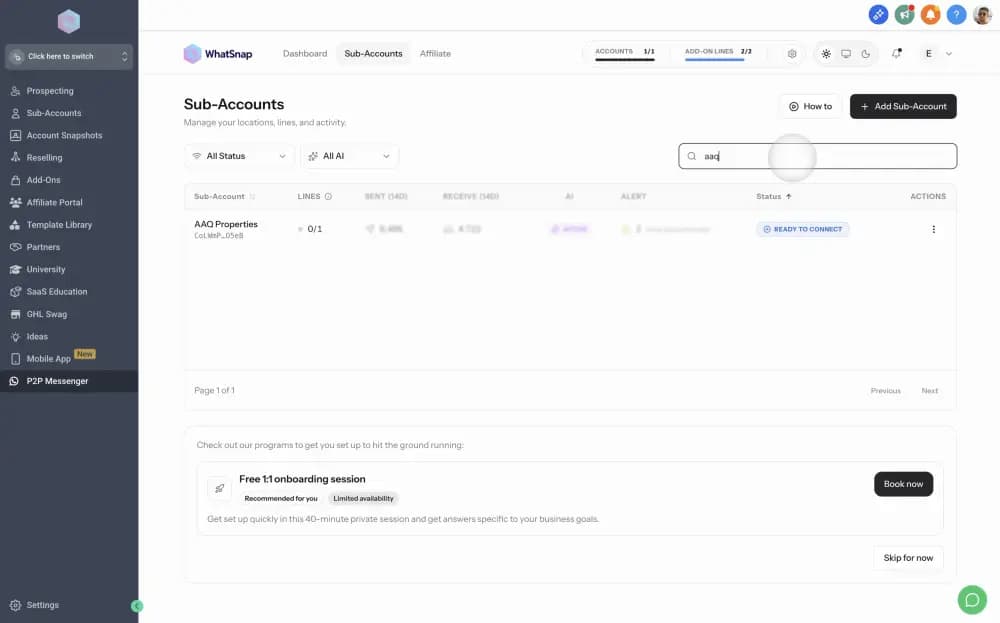
Verify "Ready to connect" status
Once installed, the sub-account will appear in your WhatSnap dashboard with a Ready to connect status.
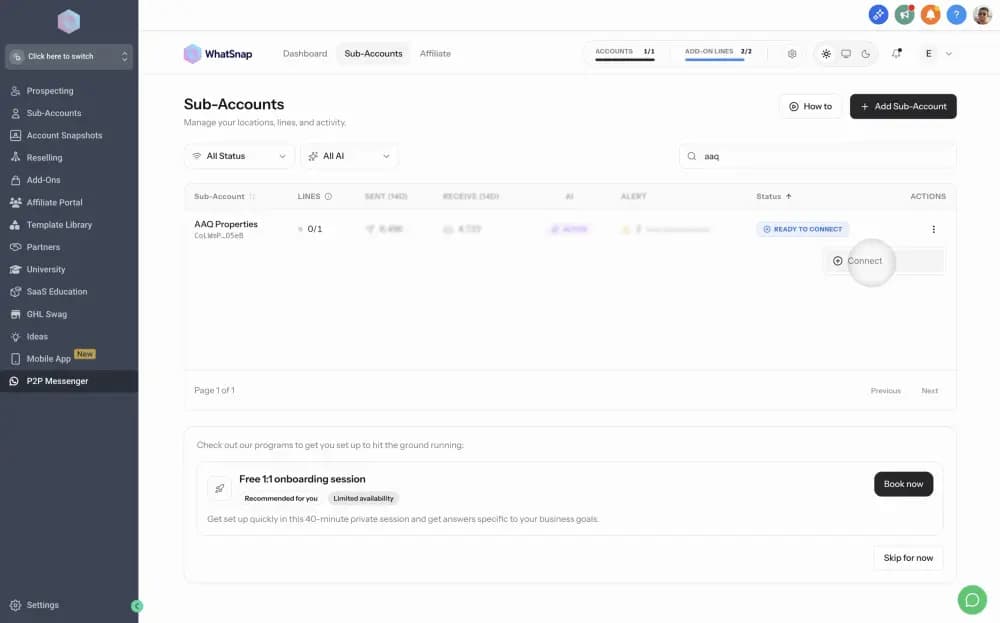
Allocate license
Click Connect to allocate an available license slot to the new sub-account.
If you have run out of slots, you can purchase more by clicking on the counters at the top of the dashboard or by upgrading your plan in the Billing section.
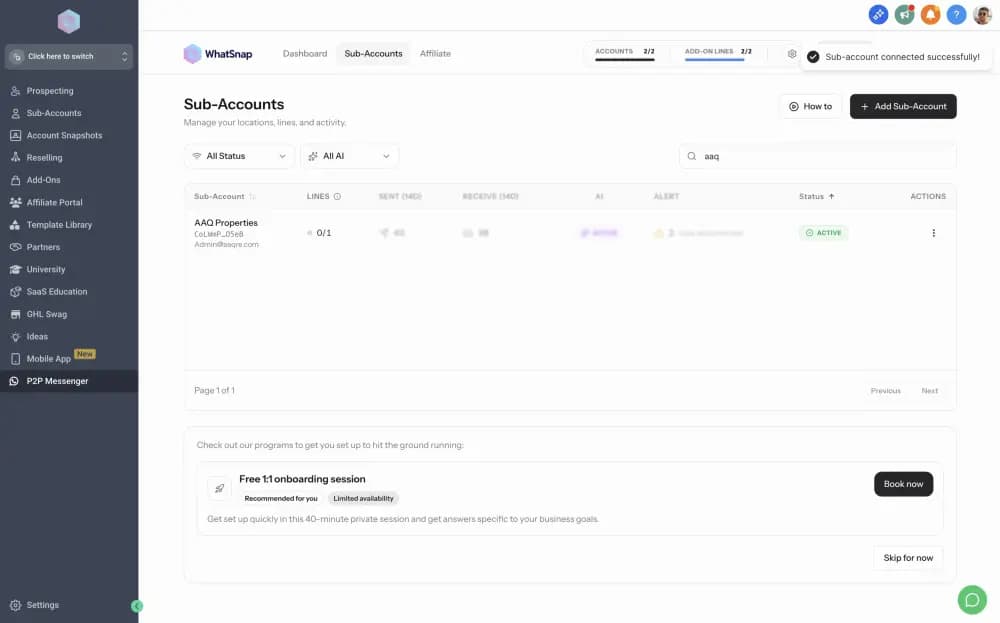
Success!
The sub-account status will change to Active, indicating it is now successfully connected and ready for use.
Adding extra lines to a sub-account
Every sub-account includes one line by default. Follow these steps to purchase and allocate additional lines.
Check available lines
Look at the Lines counter at the top of your dashboard to see how many add-on lines are currently available in your plan.
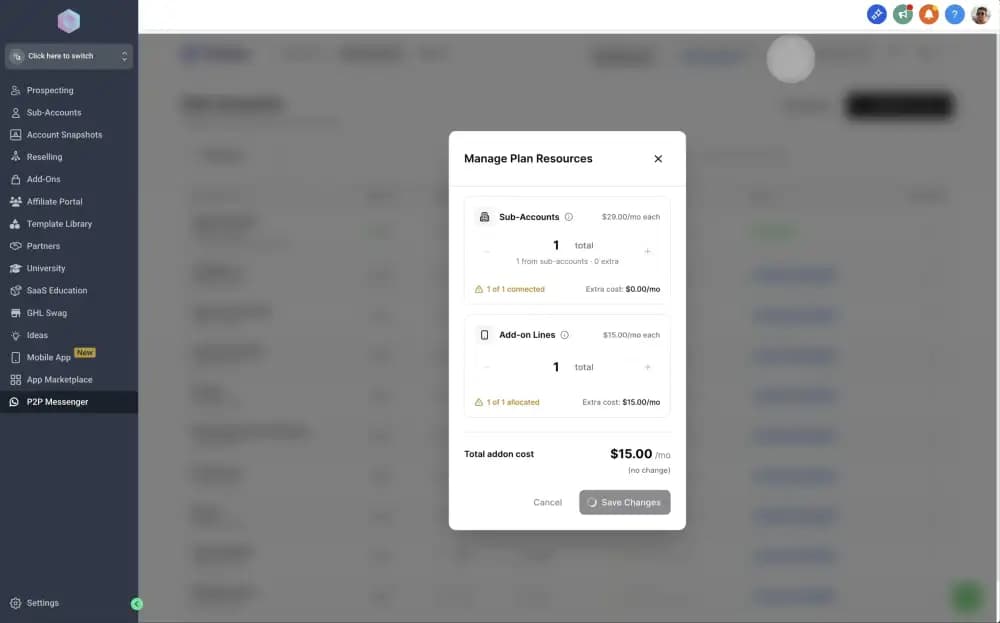
Purchase additional lines
If you need more lines, click directly on the counter to open the resource portal and complete your purchase.
Allocate the line
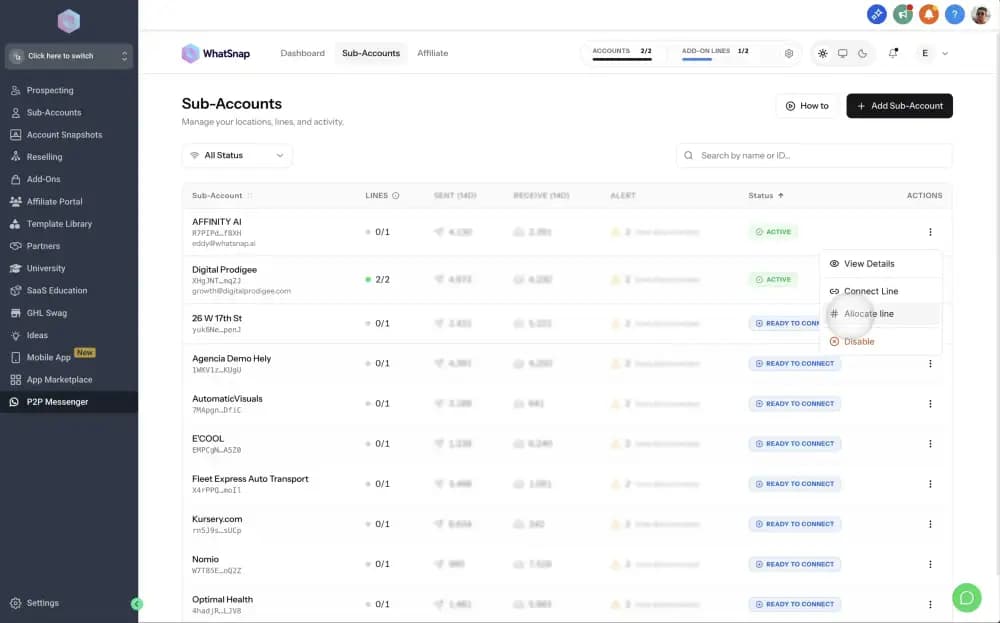
Locate the sub-account where you want to add the line, click the three dots in the Actions column, and select Allocate Line.
Confirm allocation
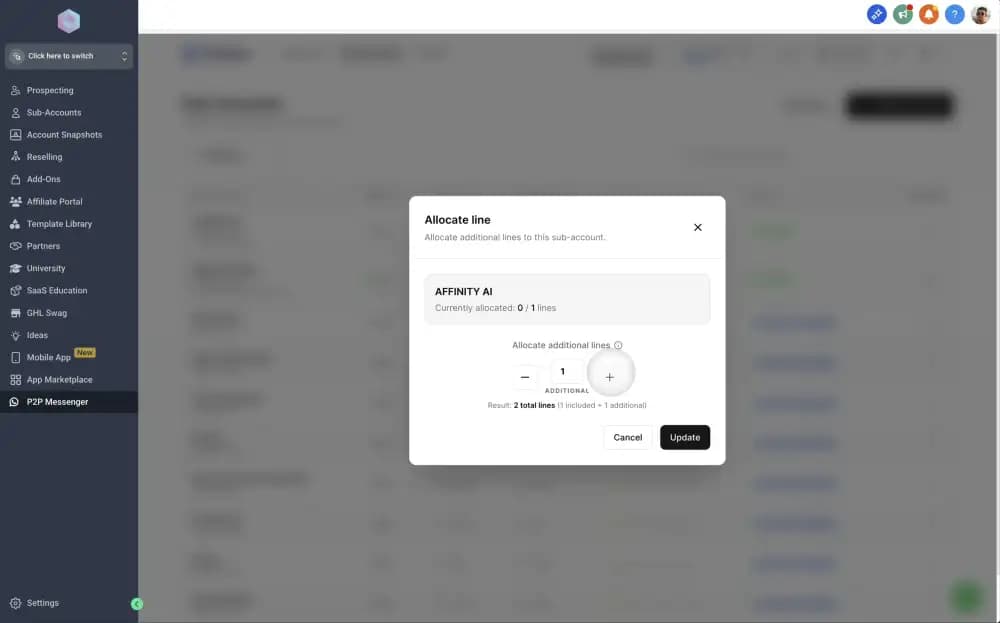
Select the available add-on line from the modal and confirm. The sub-account will now show the updated number of available lines.
Related
Last updated on January 26, 2026